Install the server
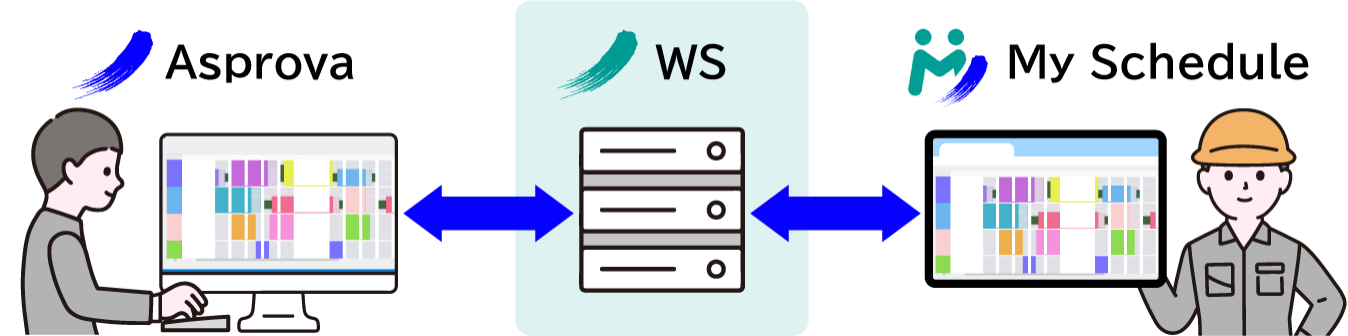
My Schedule runs on Asprova WS, the server component that sits between Asprova and the browser. Installing it means downloading one module, unzipping it, and starting it from the WS Control Panel.
Download the module
Download the Asprova My Schedule module from the official download page. An Asprova ID is required.
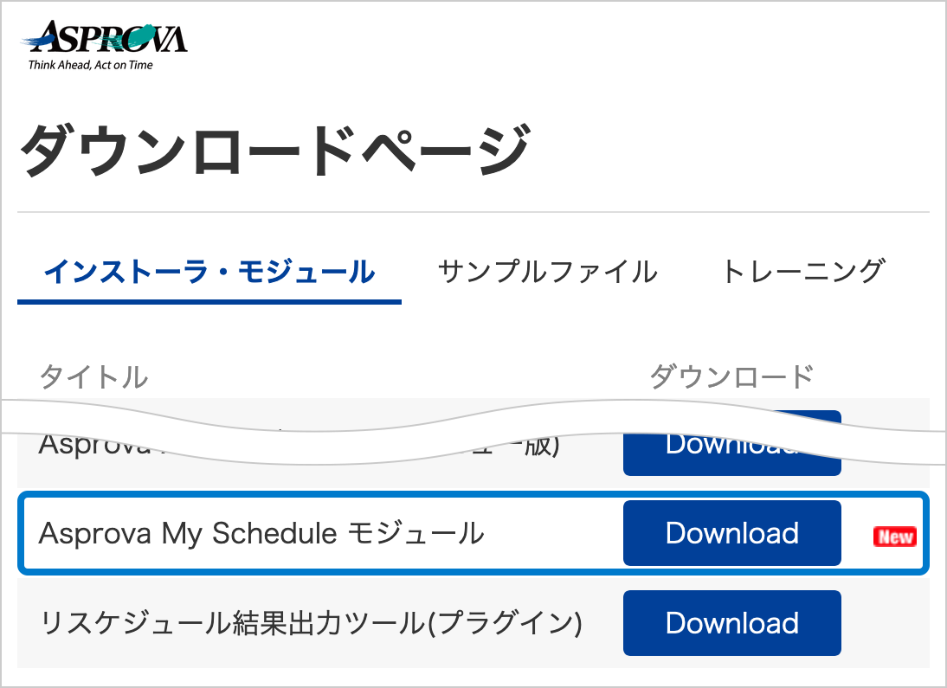
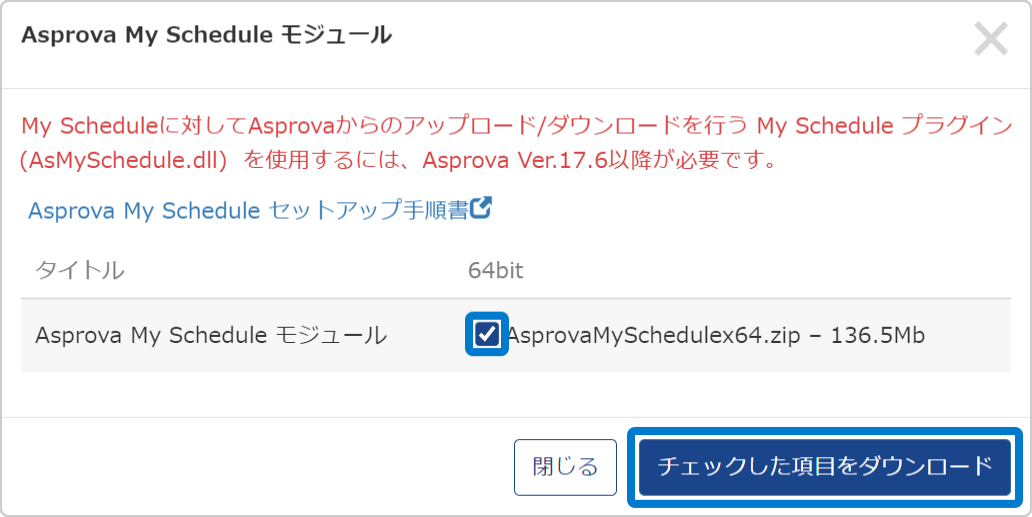
You get a ZIP file. Unzip it somewhere on the server machine.
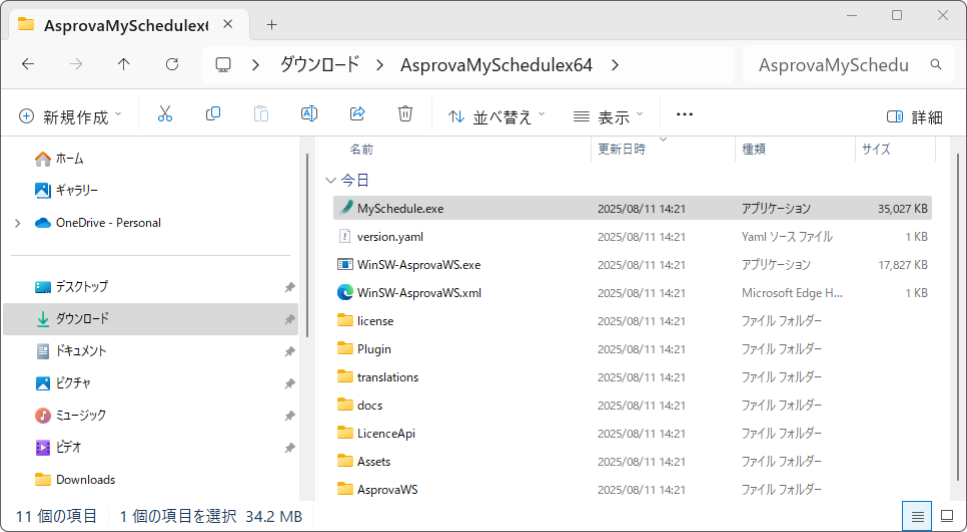
Run MySchedule.exe
Run MySchedule.exe from the folder you unzipped.
Run it as administrator if you are going to set up license authentication afterwards. Changing settings and day-to-day operation do not need administrator privileges.
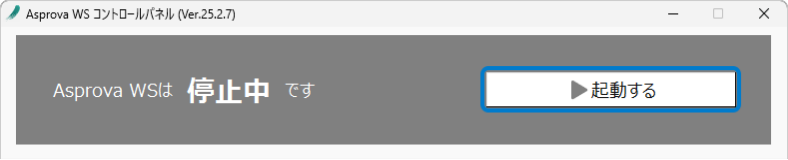
MySchedule.exe opens the Asprova WS Control Panel.
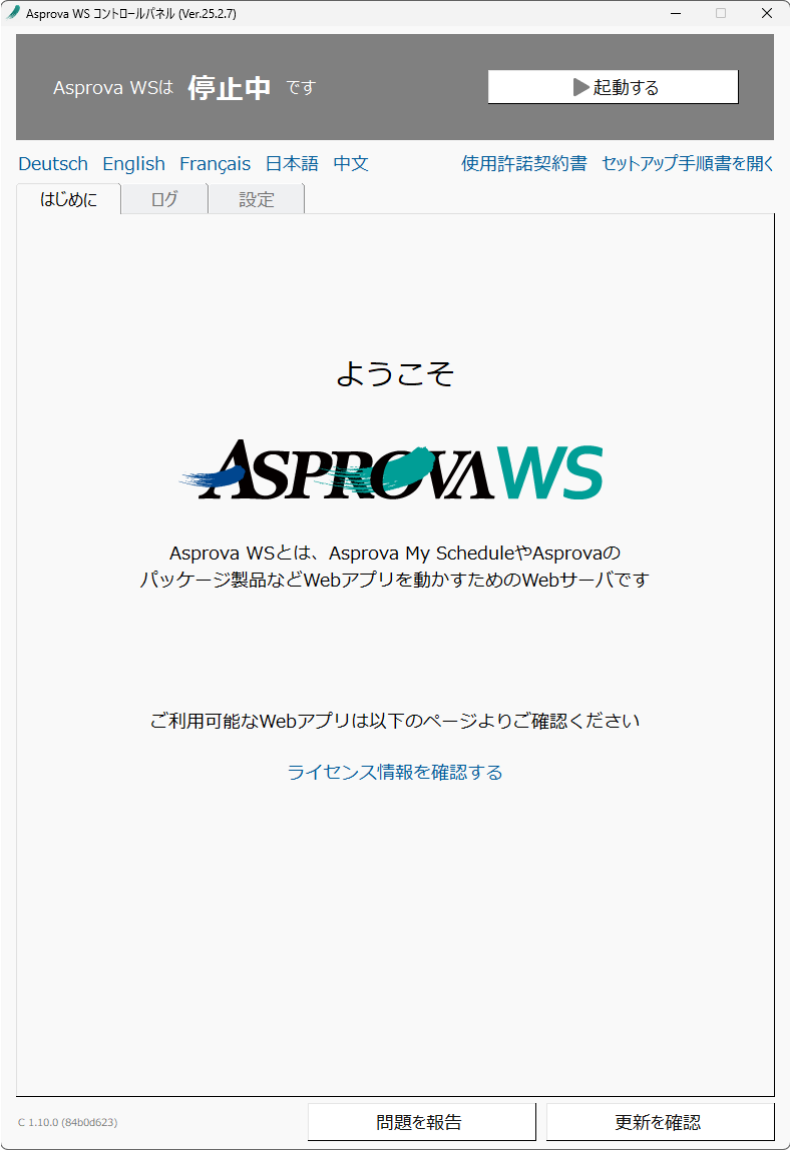
Asprova WS is the system that runs on the server and connects Asprova to My Schedule and the other packaged products.
Start WS
Press [Launch Asprova WS] at the top of the window to start it.
If Windows Security appears and reports that Node.js JavaScript Runtime has been blocked by the firewall, allow it. That lets WS through the firewall.
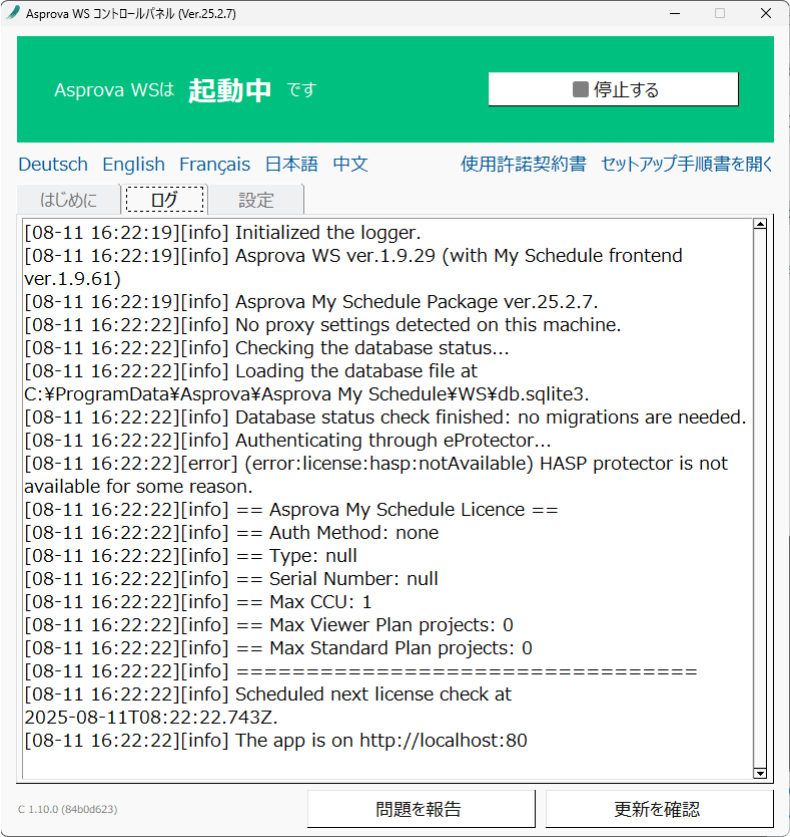
Once WS is running, the button turns green and changes to [Stop Asprova WS]. Switch to the [Logs] tab and you will see log lines being written, confirming that WS is up.
The WS Control Panel has to stay running for as long as you want My Schedule to be available. If you would rather have WS start with the machine and keep running without the Control Panel open, turn on Run as a Windows service.
Next, go through the Control Panel's settings and connect to My Schedule from a browser: Configure the Control Panel.