Try it out
The quickest way to see My Schedule is to use the copy that comes with Asprova. Nothing to download, no server to prepare, and no license to set up — you can be looking at your own plan in a browser in a few minutes.
Use this page if you are evaluating My Schedule. To run it properly — on a machine of its own, for your colleagues, on a paid plan — start at Install the server instead.
Start My Schedule
The latest version of Asprova comes with My Schedule bundled. Start it from the Start menu, and the WS Control Panel opens.
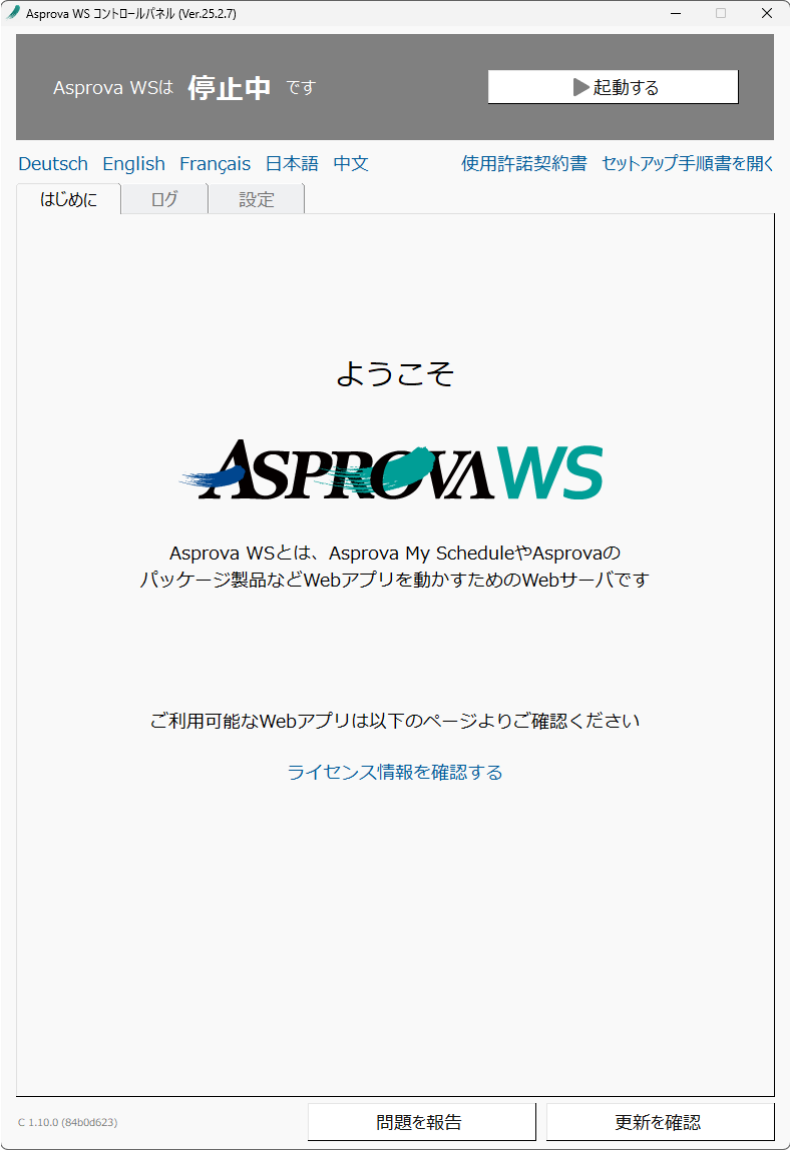
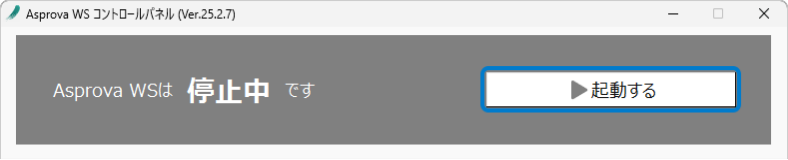
Press [Launch Asprova WS] at the top of the window.
Once it is running the button turns green and changes to [Stop Asprova WS].
If Windows Security reports that Node.js JavaScript Runtime has been blocked by the firewall, allow it.
The Control Panel has to stay running for as long as you want to reach My Schedule.
Open it in a browser
Type the Host (IP) and Port number from the Control Panel's [Settings] tab into a
browser, joined with a colon — with the defaults, that is http://127.0.0.1:80.
Sign in with the administrator account:
| Username | admin |
| Initial password | *qkCMt4Ut5 |
127.0.0.1 means this PC, so the browser has to be on the same machine as the Control Panel.
Nobody else can reach My Schedule at that address — that is the one real limitation of trying it out
this way. To let colleagues in, set the machine's own host name or IP address under
Host (IP), or put My Schedule on a server of its own with
Install the server.
Projects from Asprova's Experience Tour
Asprova's Experience Tour is special content prepared so that you can experience My Schedule easily. Its projects are only reachable while the tour itself is running — when it is not, you cannot open them from My Schedule.
To evaluate My Schedule against data of your own instead, use one of Asprova's sample files, or upload a project you actually run.
What you get without a license
An unlicensed server runs the Free plan, which is enough to evaluate My Schedule: one project, a display period of up to 14 days, one style per view, and one viewer at a time. See Plans and project limits for the full comparison, and Set up a license when you are ready to move past it.
Carry on
From here the steps are the same as a full installation:
- Create a project — add a project and choose the views it shares.
- Connect Asprova — install the plugin and upload your plan.
- Collect results — enter results in the browser and download them into Asprova.
- Share with your users — once the server is reachable by others.