Create a project
A project is the unit in which My Schedule shares a plan: it holds the uploaded planning data, the views that display it, and the users allowed to see it. Sign in to My Schedule with the administrator account to set one up.
Add a project
Projects are added from Project management. Press [Project management] to open it.
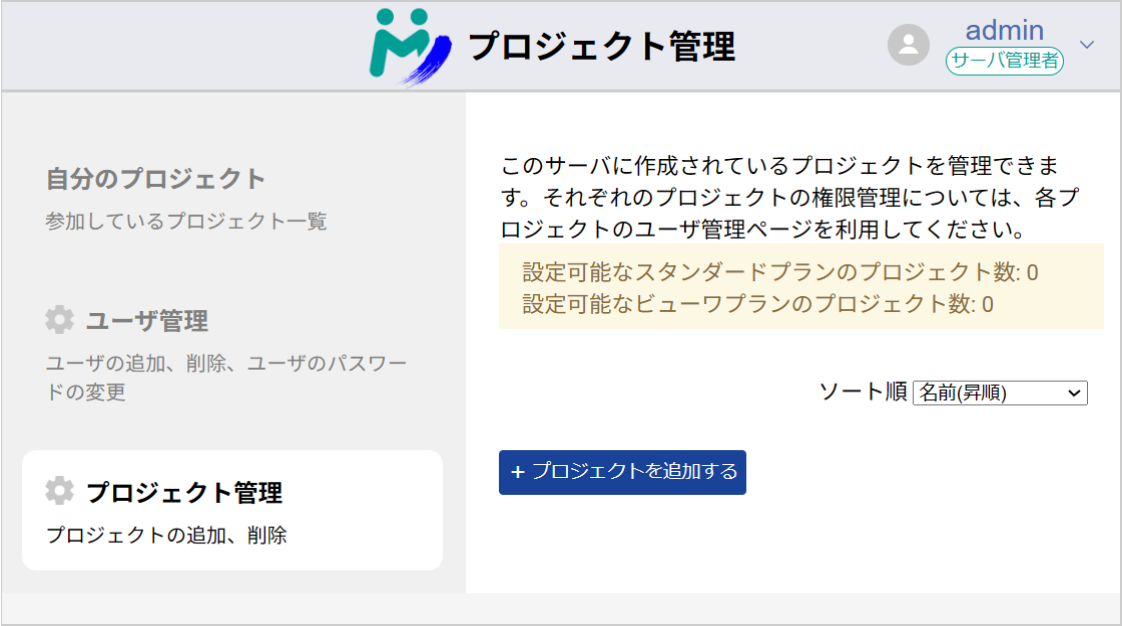
Press [+ Add project]. Fill in the project's details in the window that appears, and choose the plan to apply to it under Plan.
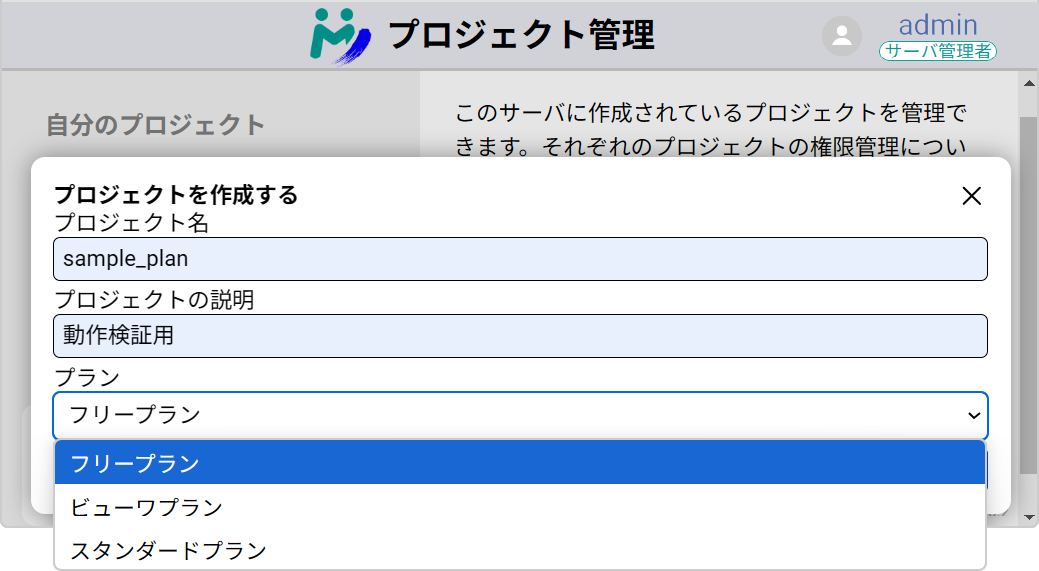
The plan you choose here decides what the project can do — how long an upload period it accepts, how many styles it can show, and whether results can be entered. See Plans and project limits.
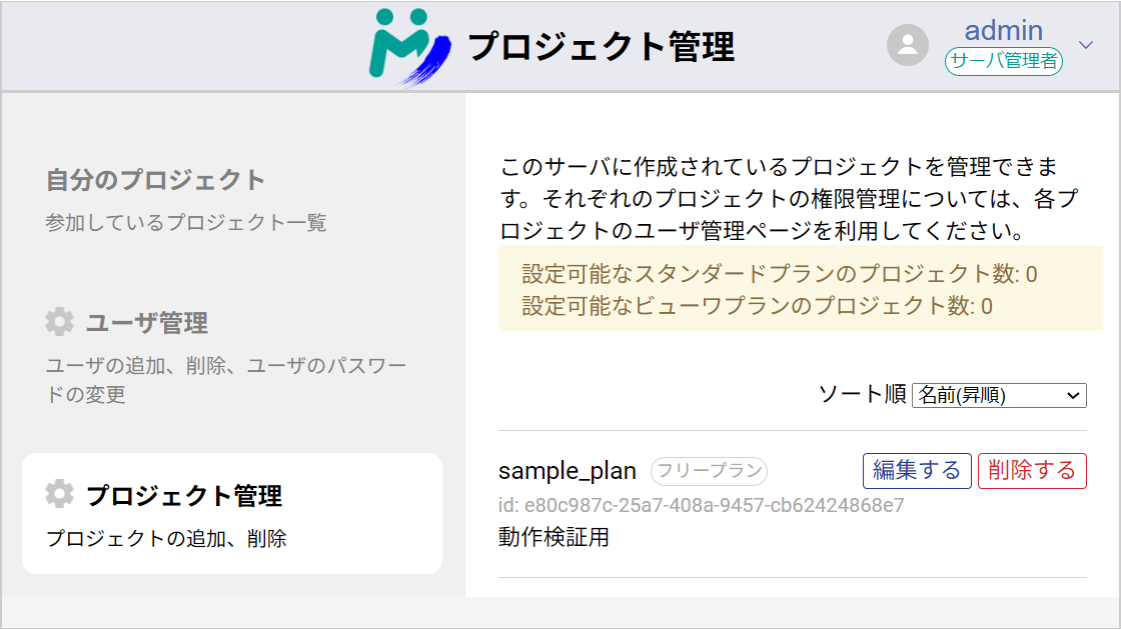
Press [Create]. The pop-up closes and the project you created appears in the list.
Set the project up
Click the name of the project you created to open it.
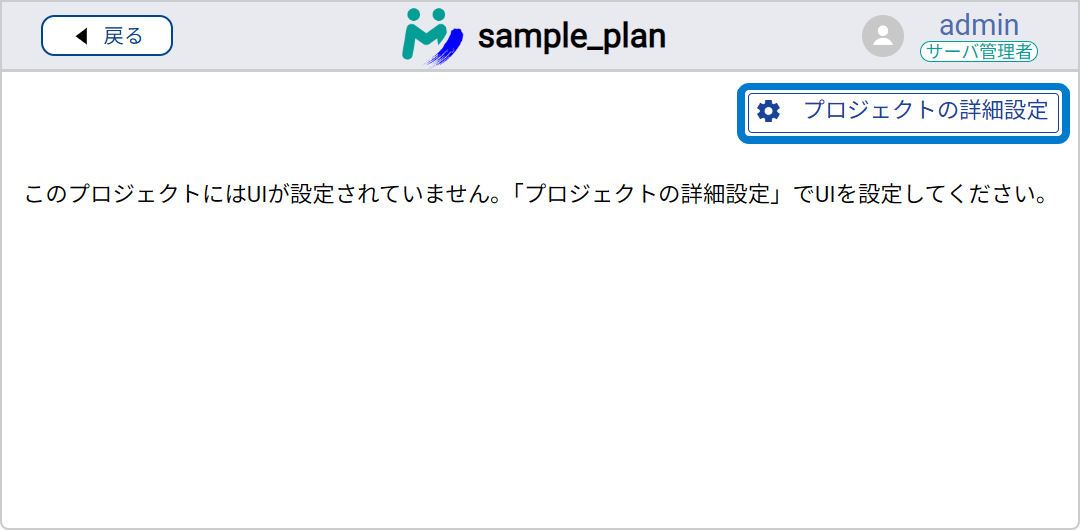
A project you have just created reports that no views have been configured for it. Press [Project detail settings] to configure its contents.
Project detail settings are grouped into sections:
| Section | What it does |
|---|---|
| General info | Review and edit the project's name, description and plan. |
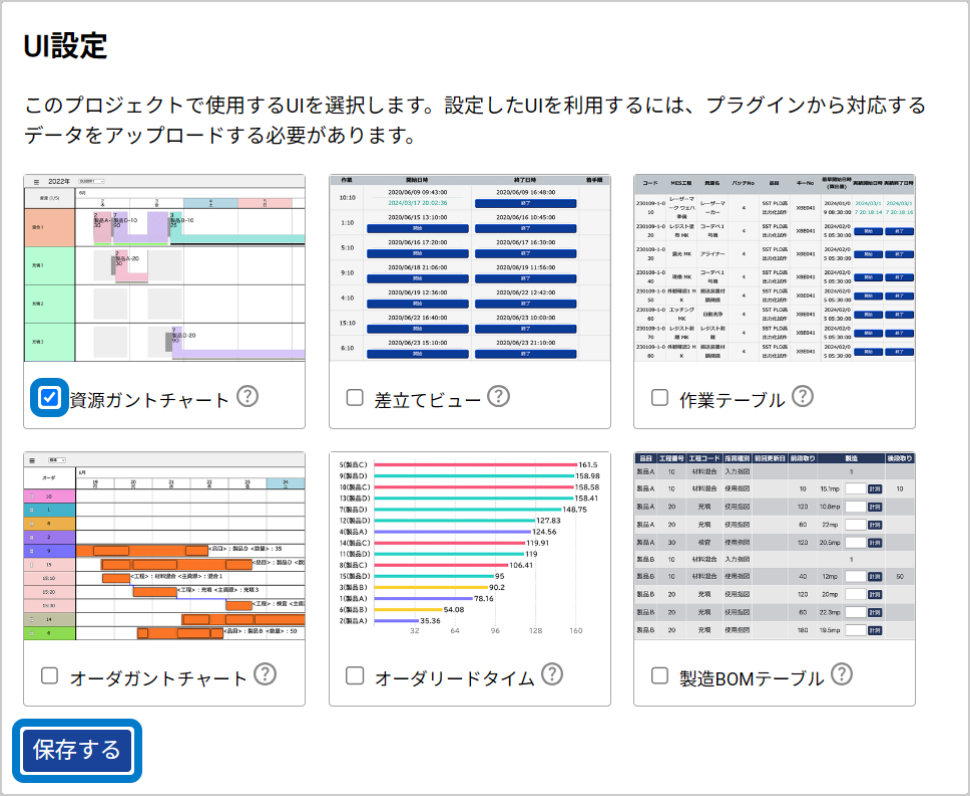
| Views | Choose the views the project shares. |
| Users | Choose the users the project is shared with, and their permissions. |
| Auto Import | Import results into the project automatically — see Auto import. |
| Results data, and capacity adjustments data | Which result properties users may enter, and how the Start and Finish buttons behave — see Results. |
The rest of this guide follows an example that adds the Resource Gantt Chart under Views. Check that the view you want to share is ticked, then press [Save].
Which views you can choose depends on the project's plan and on your license. For what each one shows, see the view documentation.
Press [Back] at the top left of the window to return to the previous screen, then click the icon of the view you added.
A message saying the required file could not be found means no planning data has been uploaded yet. That is the next step.
Now connect Asprova to this project and upload a plan: Connect Asprova.