Share with your users
The project is set up and holds a plan. To let other people see it, add users and invite them to the project.
Add a user
Sign in to My Schedule with the administrator account and press [User management].
The entry listed as admin (Server admin) is your own account. Press [+ Create new user] to add someone.
With [Create a general user] selected, enter a username — this guide uses test_user_001 as its
example — and set a password.
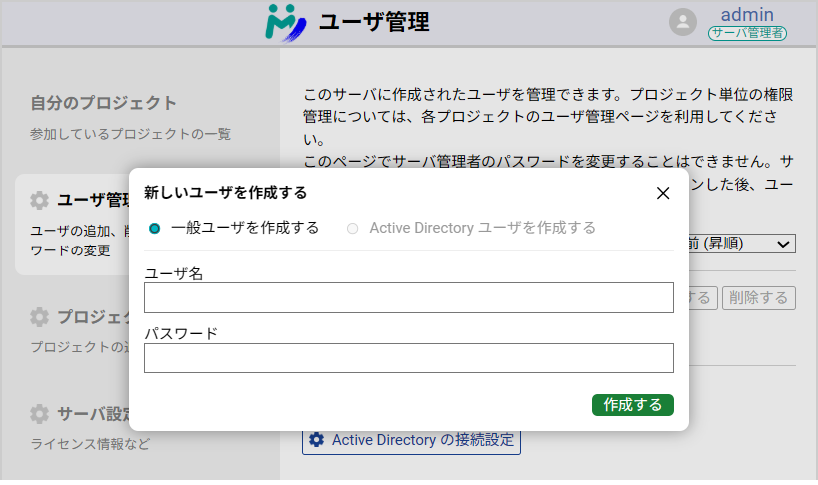
To create Active Directory users instead, see Active Directory authentication.
Invite the user to the project
Select the project you want to invite the user to from the list, press [Project detail settings] and open User settings.
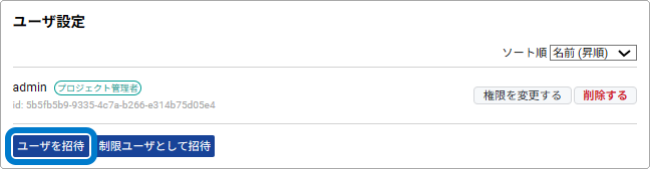
[Invite user] offers two ways to invite:
- Invite an existing user — search for a user you added in User management, set their permissions, and invite them.
- Invite a new user — invite someone who has not registered yet, directly.
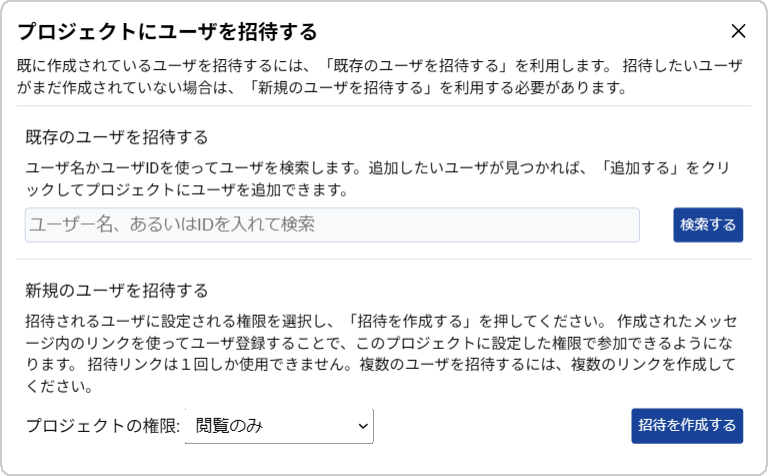
Invite an existing user
Type part of the name — test, say — and press [Search] to list the candidates. Select the user
from the list, set their permissions, and press [Add] to invite them to the project.
Invite a new user
Select the permissions and press [Create invitation].
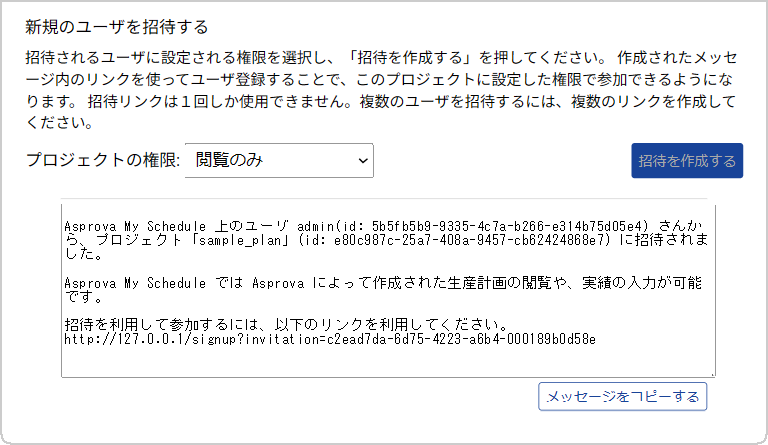
An invitation message appears. Copy it and send it to the person you want to share with, by email or otherwise. When they open My Schedule through the link in the message, they can register themselves.
Users are invited and given permissions per project. If you upload several projects, invite the users to each one. For what each permission allows, see Permissions.
If the invitation window shows the message below, the project you uploaded is not reachable by other
users — you are using a loopback address such as localhost. Prepare a dedicated server machine for
My Schedule and set it up as described in Install the server, or access My
Schedule using your computer's own IP address or host name.

Invite a restricted user
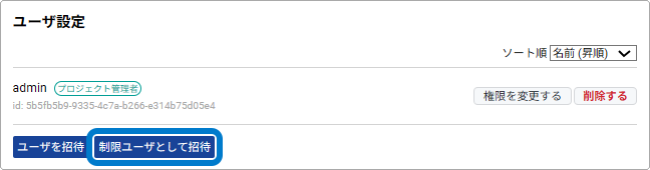
A restricted user is a user allowed to access only part of a project's data and views. Using this feature requires Dispatching View data to have been uploaded to the project.
Restricted users can be invited both as existing and as new users. This guide follows [Invite an existing user].
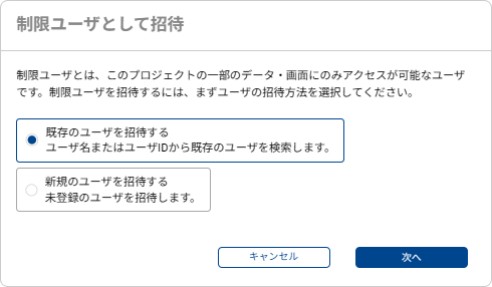
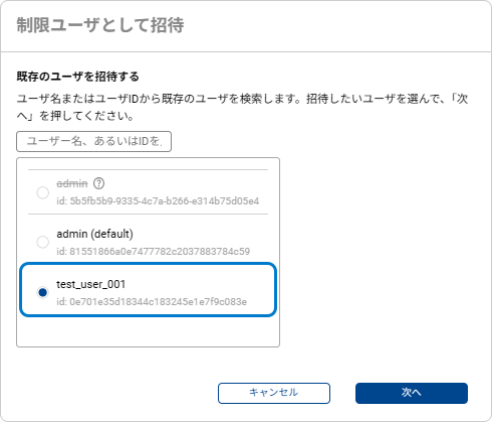
Select [Invite an existing user] and press [Next] to see the list of existing users. Choose the user to invite and press [Next].
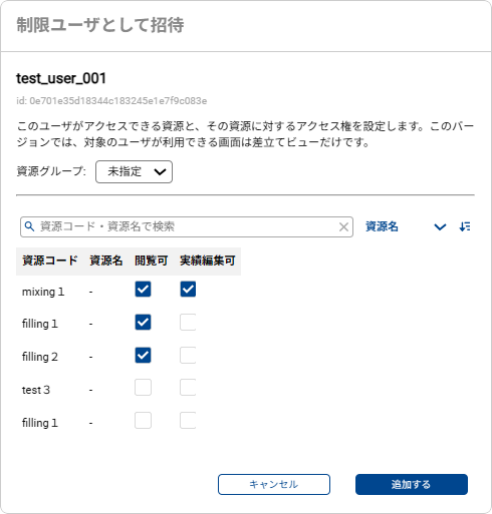
You can then set, per resource, whether the user may view it and whether they may edit results on it.
That is the whole setup: the server is installed and licensed, a project holds your plan, Asprova uploads to it, results come back, and your users can see it.
From here you might want to:
- Keep My Schedule up to date
- Authenticate users against Active Directory
- Read up on the views your project can share